My blog post from yesterday (Glass Paperweight Finished with a Vintage Thread Card) walked you through the steps involved in placing a single object in a paperweight using a decorative paper background. Today's project will show you how to display a few different items in your paperweight. There are more steps involved. However, I'm sure you'll find each step is just as easy, depending on the complexity of your design layout.
For this project I used the Large Rectangle Paperweight Kit (available on our website at PhotoWeights.com). This paperweight style features the largest display area we offer (4 1/2" x 2 3/4"). My display items include a page of scrapbook paper (to use as the background), a paper card of sewing snaps, and a thread card.
Because I want the background to blend in, I chose a piece of scrapbook paper that coordinates with the display items I'm using. The paper has an aged look that I love.
The self-adhesive mounting board (included with each paperweight kit) is adhered to the reverse side of the paper. Using a pair of scissors, trim any paper that extends beyond the edge of the board.
I applied glue to the back of the paper sewing card, making sure to keep the glue away from the edges. You can use white glue for this step, or any liquid glue that's suitable for paper. (I used Aleene's Original Tacky Glue.)
If you're using items that have sentimental value, such as notions from your grandmother's sewing box, consider using removable, double-sided mounting tape or non-permanent glue. If you glue something in place permanently, it may be ruined if you decide to remove it from the paperweight at a later time.
The card (with glue on the back) was centered onto the mounting board and carefully pressed into place. Notice I kept the handwritten, 10-cent price on the card. I thought this added some character to the piece.
Glue was also applied to the back of the paper thread card. Again, I kept the glue away from the edges. I also made sure the tail end of the thread was covered with glue so it would stay in place.
The thread card (with glue on the back) was placed directly onto the card of sewing snaps.
After the thread card was in place, I thought the design needed a little something extra. I found an old, metal tool in my box of sewing items that I thought would be perfect. This was glued to the top of the thread card and positioned at an angle.
Once all the elements of your design are finished, allow the glue to dry completely to keep everything in place. Some types of glue release chemicals during the drying process. If your glue isn't completely dry before you assemble your paperweight, you may end up with a cloudy film inside the glass.
After the glue has dried completely, place your design face down into the recessed area on the bottom of the paperweight.
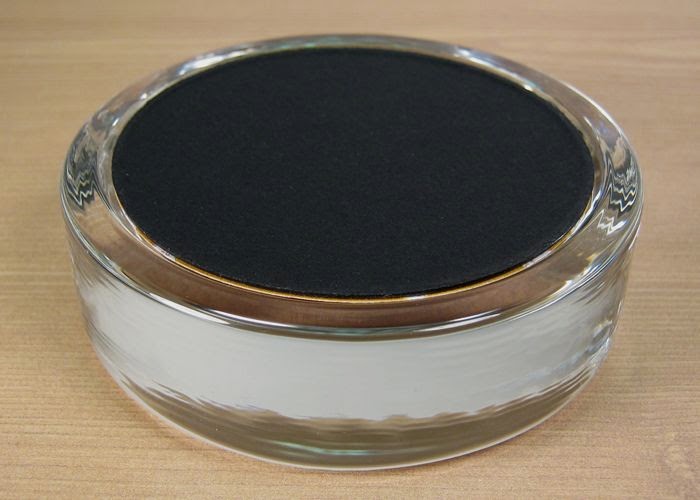
Apply the self-adhesive bottom pad (also included with each paperweight kit) over the base of the paperweight.
You're finished!


